DIY Beaker Candles
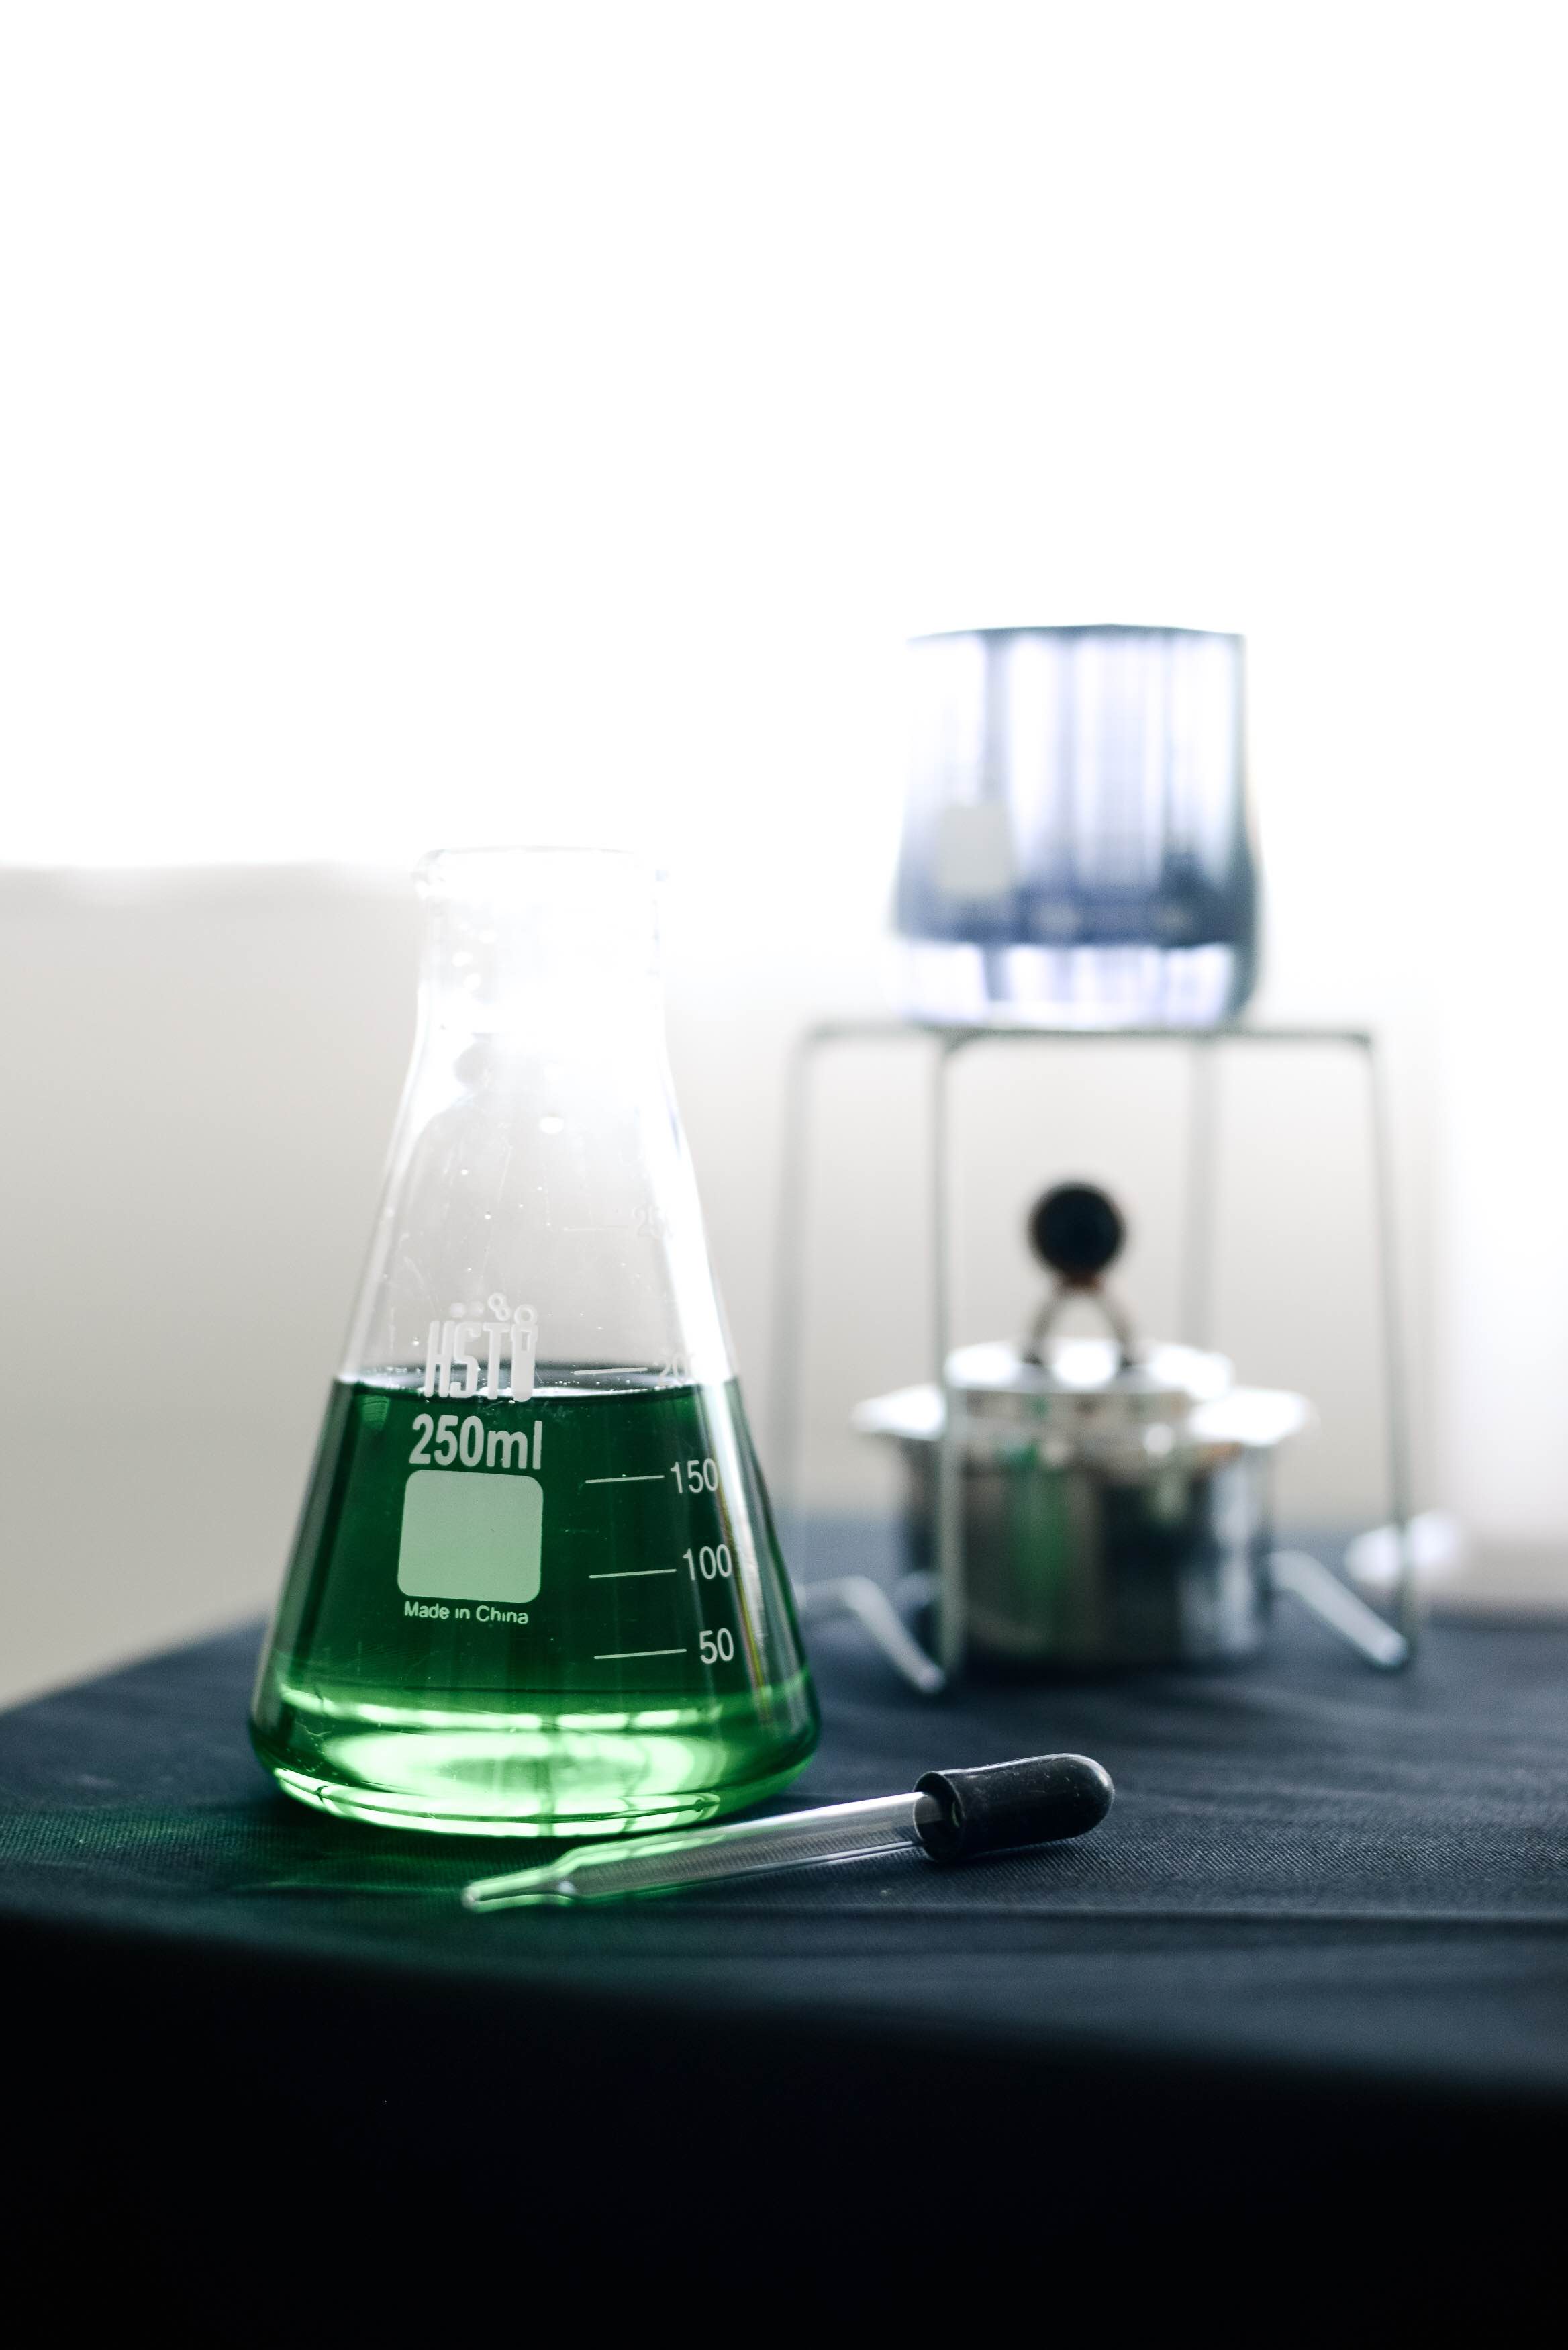
 Beakers, flasks, tongs, bunsen burners, test tubes, and clamps. All things that you can find in a chemistry class, or a mad scientist’s laboratory! And what’s more Halloween-ish than bubbling beakers and crazy concoctions? Not much if you do them right!
If you plan on crafting the perfect laboratory for your halloween event or just plan to up your halloween home decorating game, today’s DIY is for you!
I’m sharing an easy tutorial for these awesome DIY beaker candles!
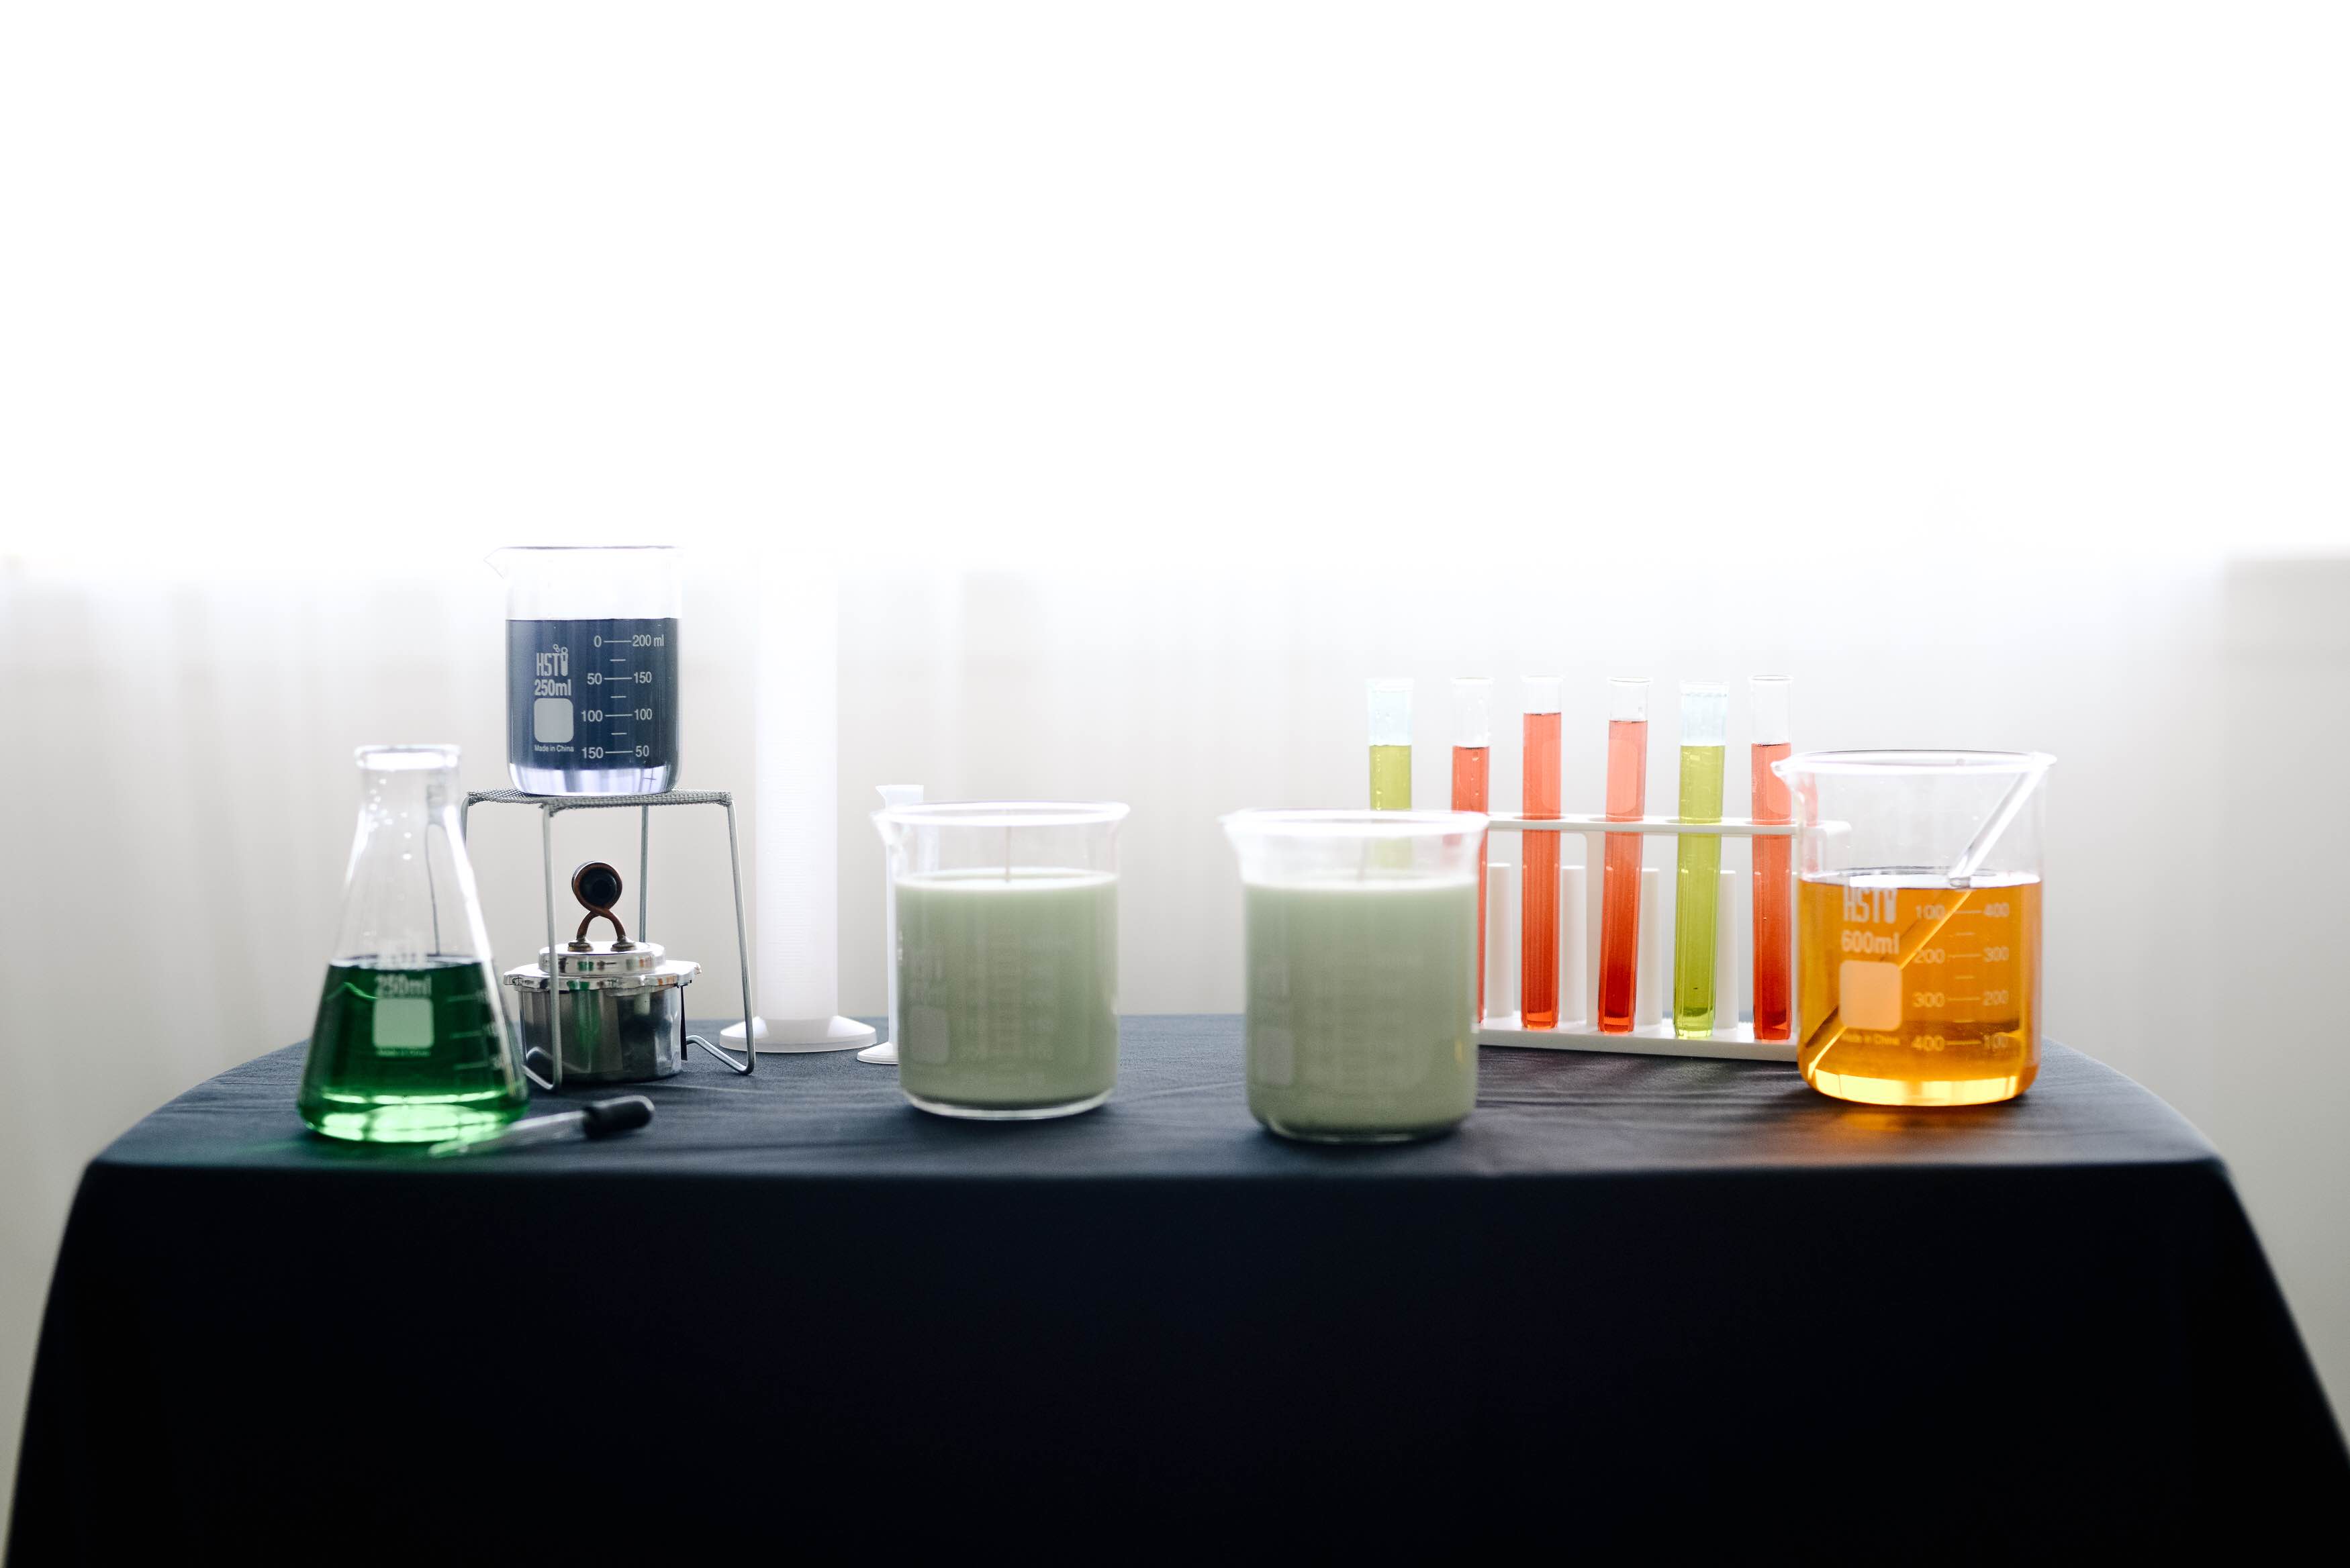
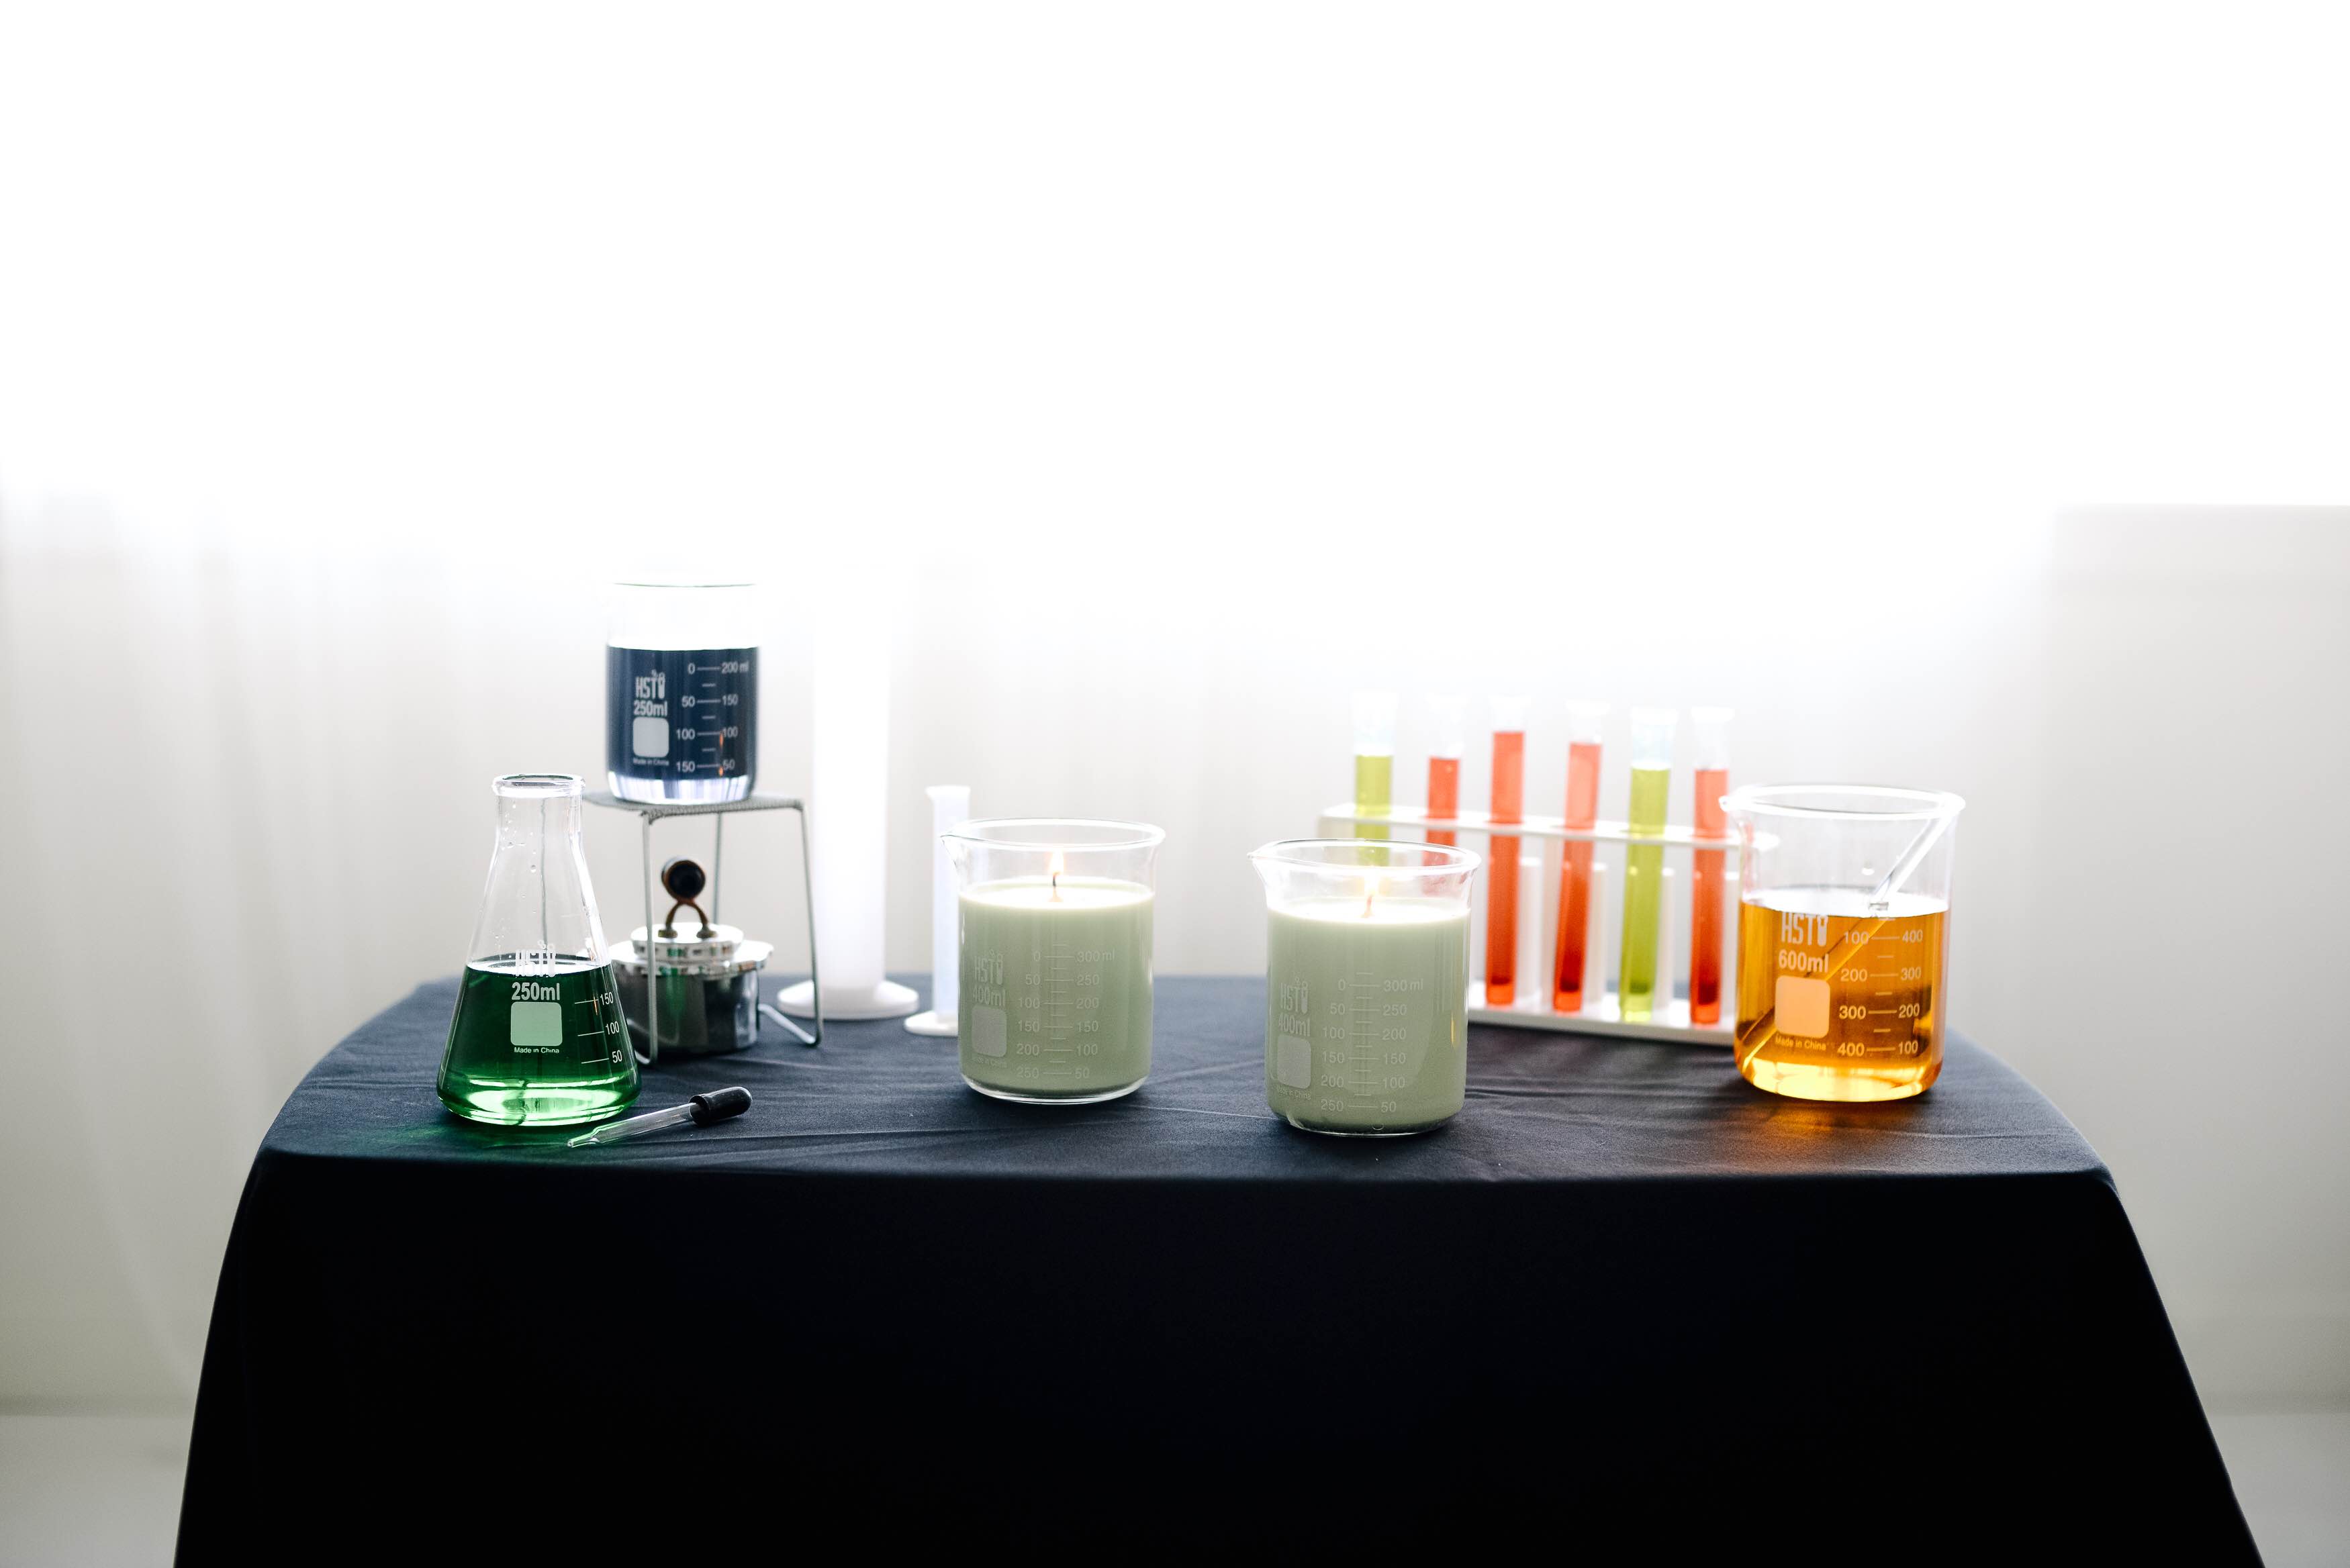
They would be perfect to add to a creepy tablescape or for a buffet station that looks like a laboratory. Plus, with the lights turned down low, they add to the overall Halloween ambiance since they are candles!
And did I mention that they are a cinch to make too?!
 Here’s what you’ll need to make your own:
- Candle Wax (Flakes or a Block)
- Essential Oil – Any Scent You Prefer
- Candle Wicks
- Liquid Candle Dye (I used green)
- Glass Beakers
- Wooden Skewers or other Stir Stick
First, depending on the type of wax that you are using, you will need to break your wax up into smaller pieces or flakes. I spent a few extra dollars and decided to save the time and trouble of slicing it up and purchased my wax already in flake form. ( I purchased a 4 lb. box of Soy Wax Flakes. This size would create about 6-8 jar candles, depending on the size you are making).
Once you have your wax prepped and ready to go, set it aside and place 2 inches of water into a deep pan. Place the pan onto the stove and wait until the water is boiling.
Once boiling, place your wax flakes into a glass measuring cup. Place the cup into the pan and allow the wax to melt. (You are basically using a double boiler method to melt your wax flakes).
Believe me when I say that you will need more wax flakes than you think! I had to repeat the whole process a few different times to fill each of my candle jars. The wax will melt down to much less after being heated.
 While you are waiting for you wax to melt, heat up a glue gun, or use some of the melted wax, as it heats, to adhere your wick to the bottom of your beaker jar.
Place a bit of hot glue or the wax around the bottom of the wick base, and press into place on the bottom (and center!) of your jar.
Leave your wick long for now (we’ll cut it later).
Using a wooden skewer or a fork or anything that will hold your wick in place, wrap the excess wick around the skewer to hold it in place and to keep the wick from falling into your container.
Once your wax is completely melted, remove it from the pan of boiling water and add in your citronella. I used about 8 drops of the oil for each of my jars.
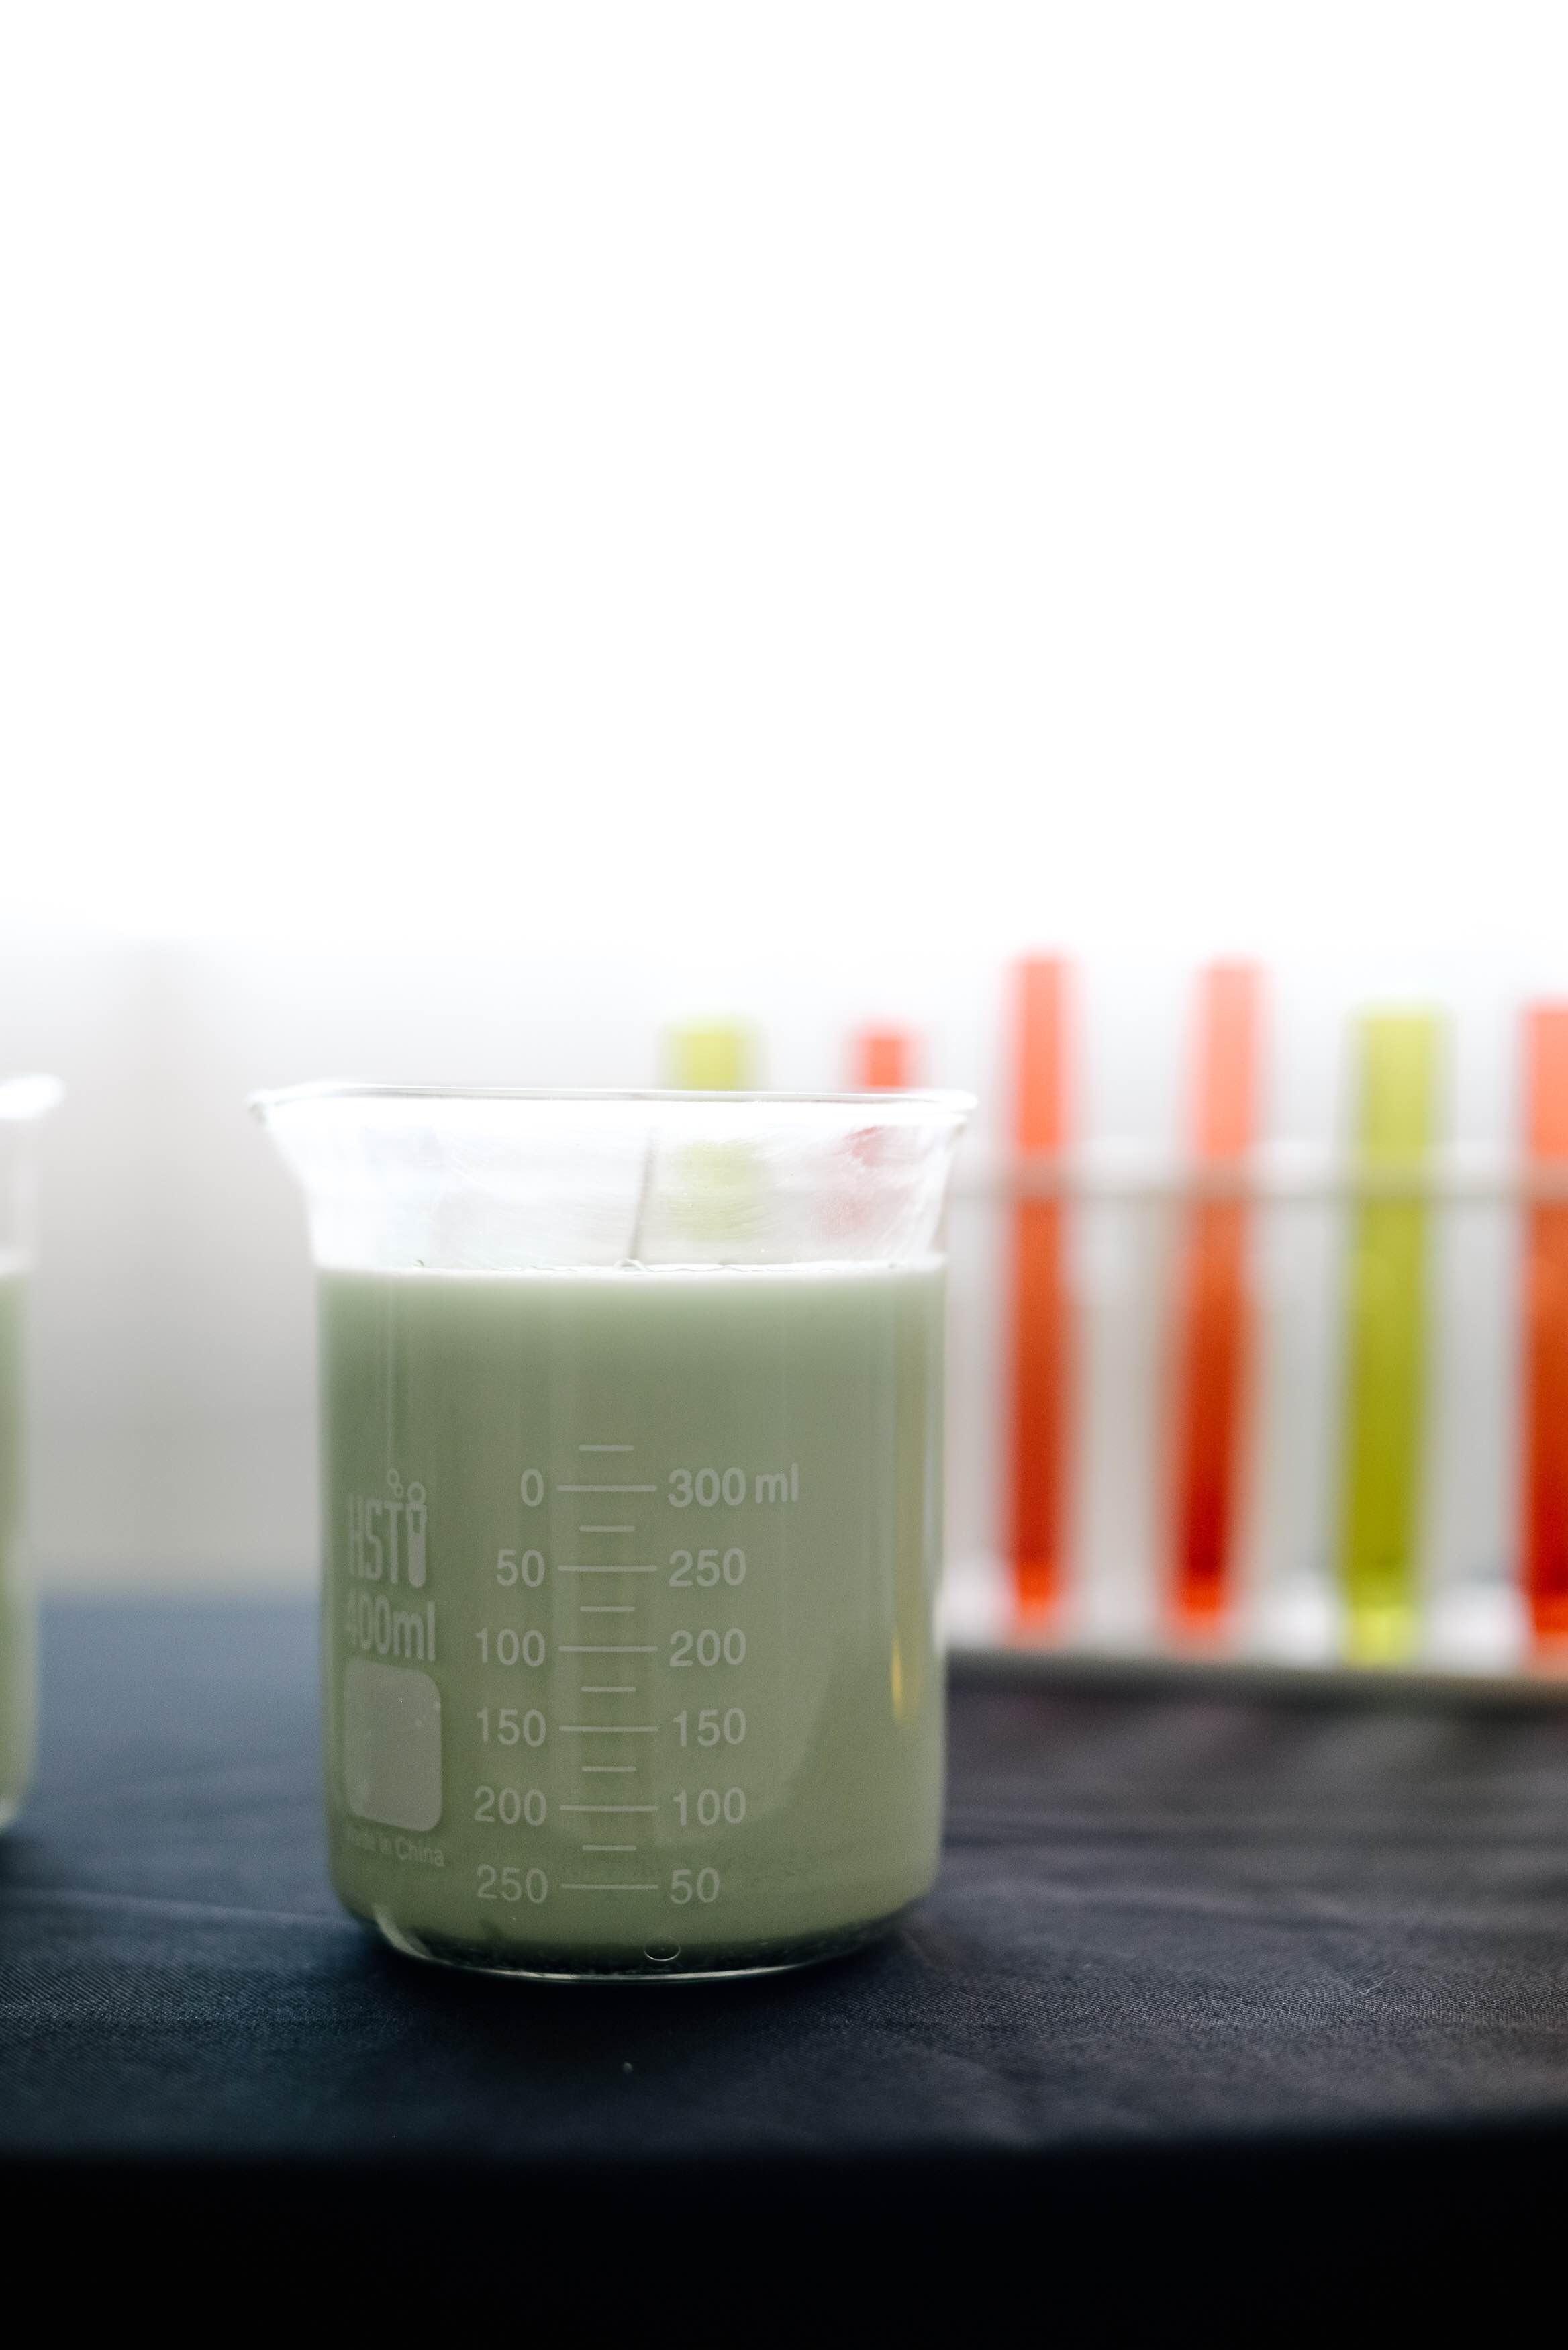
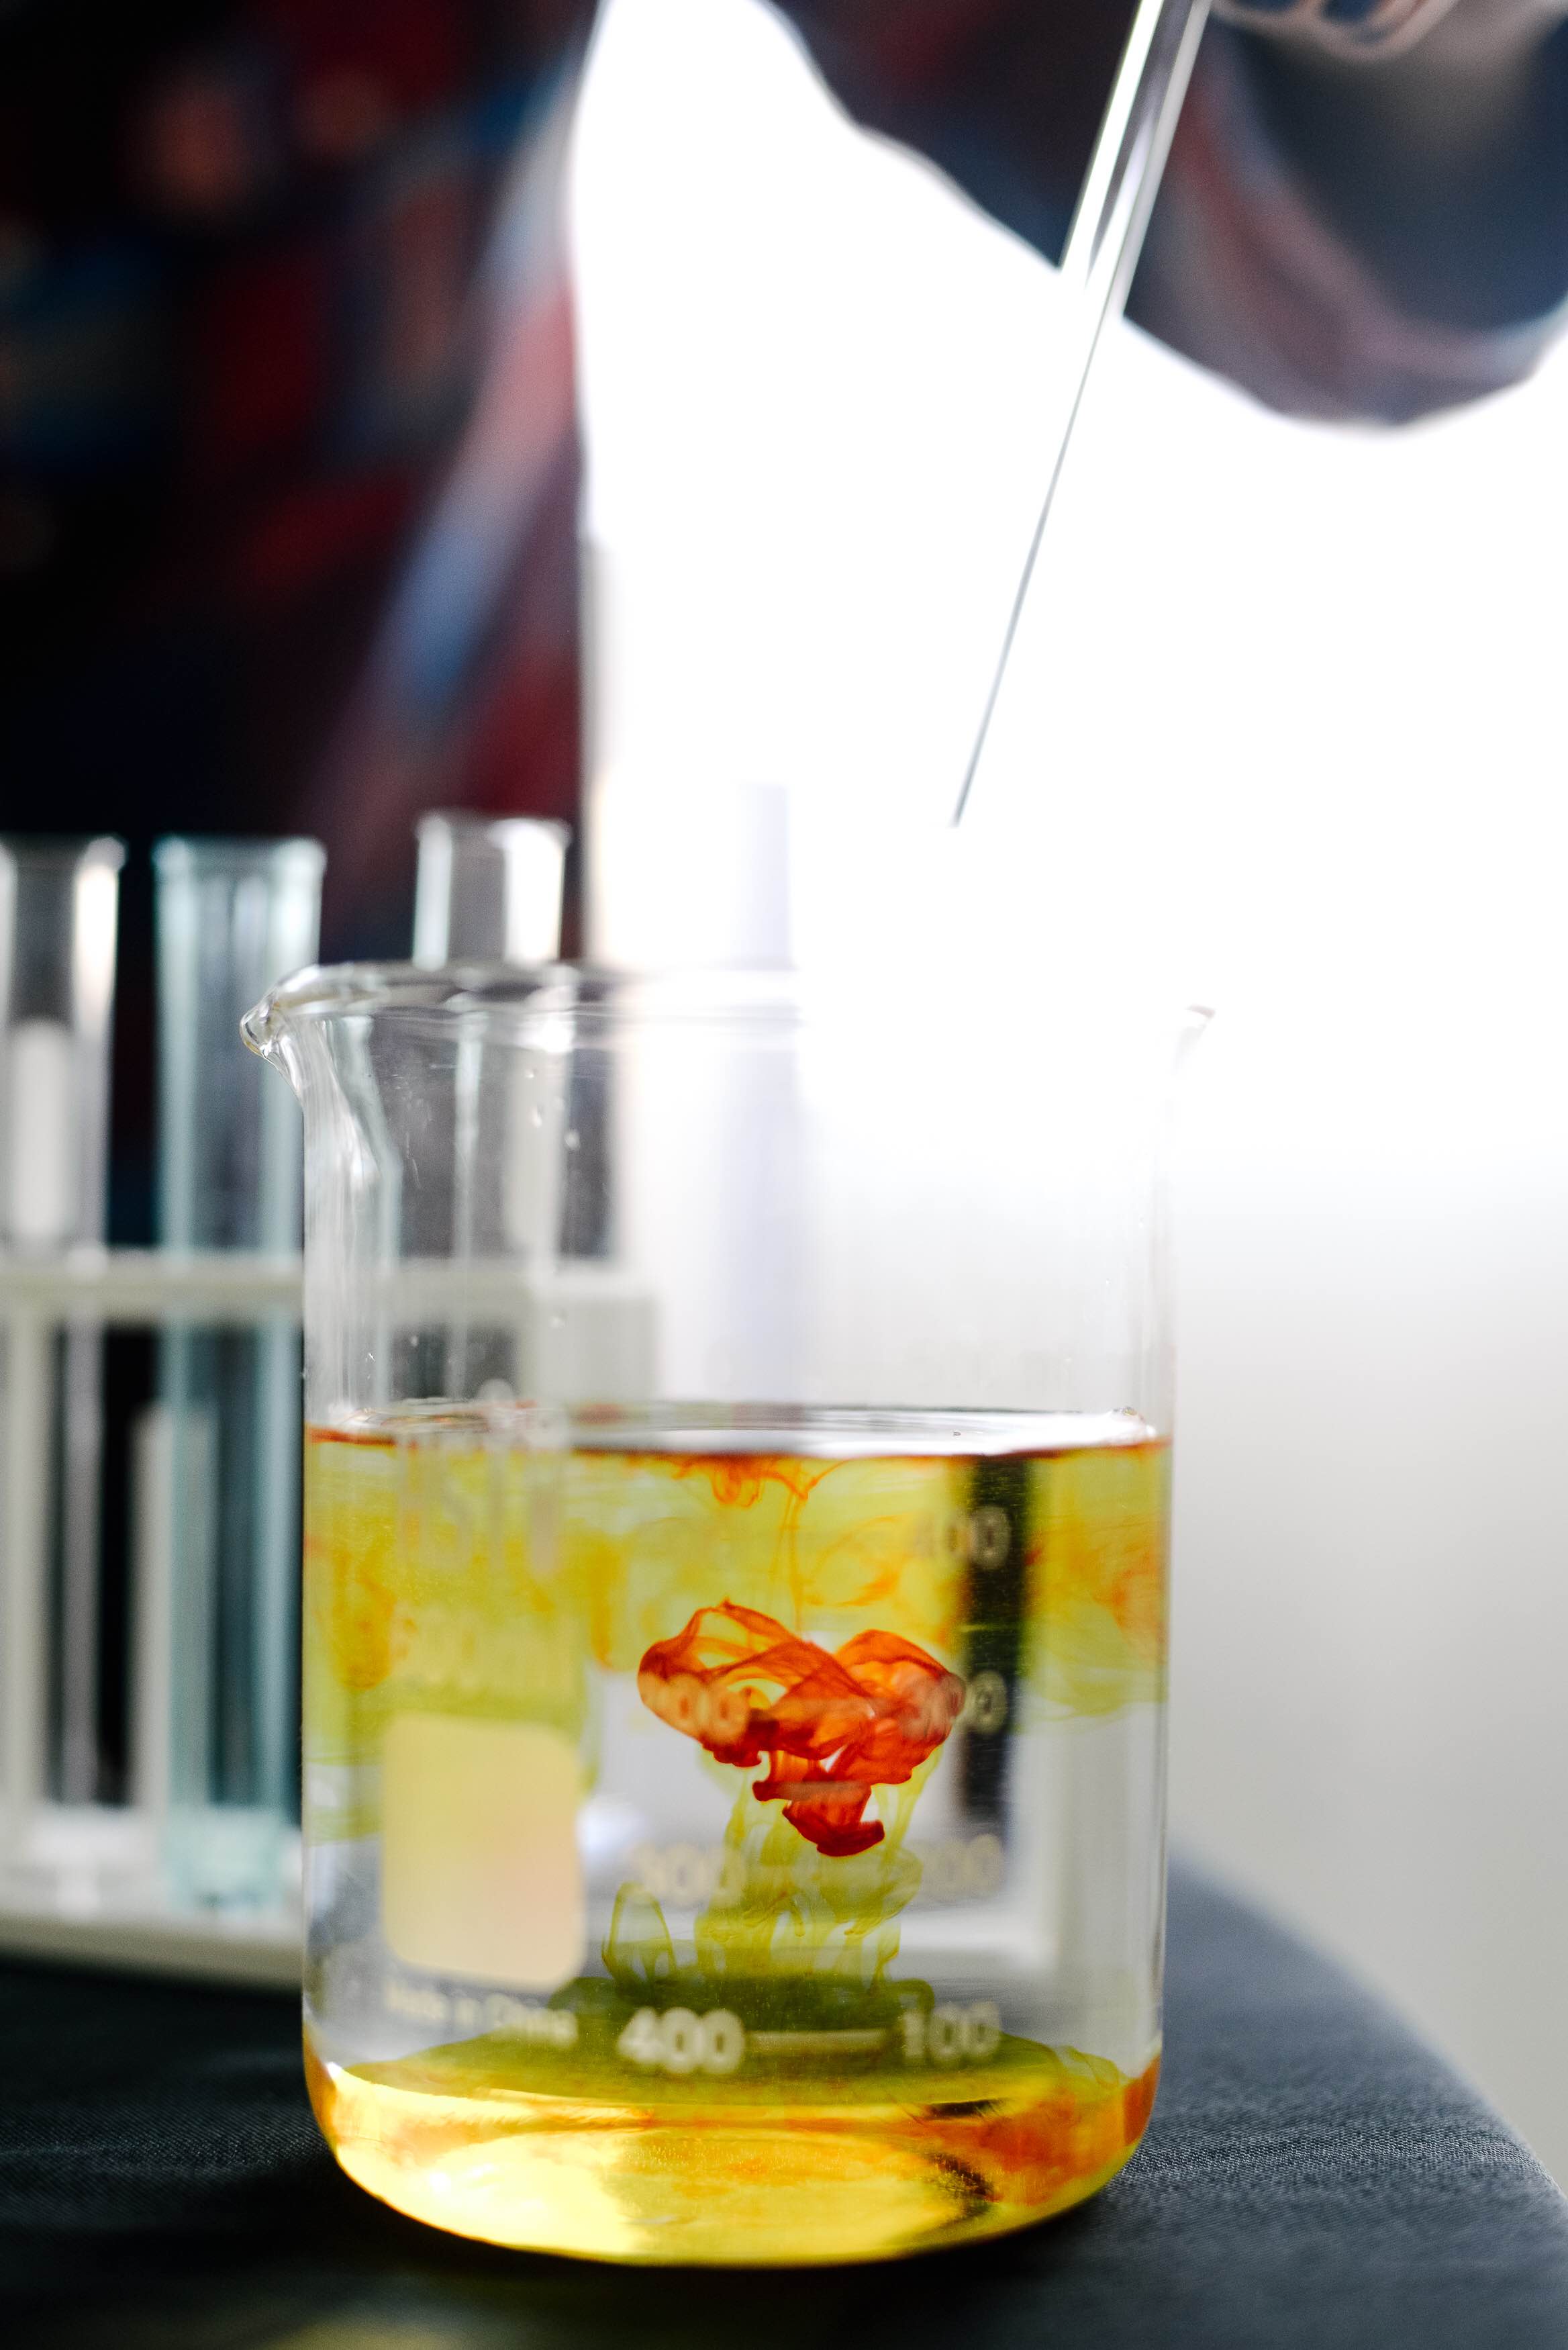
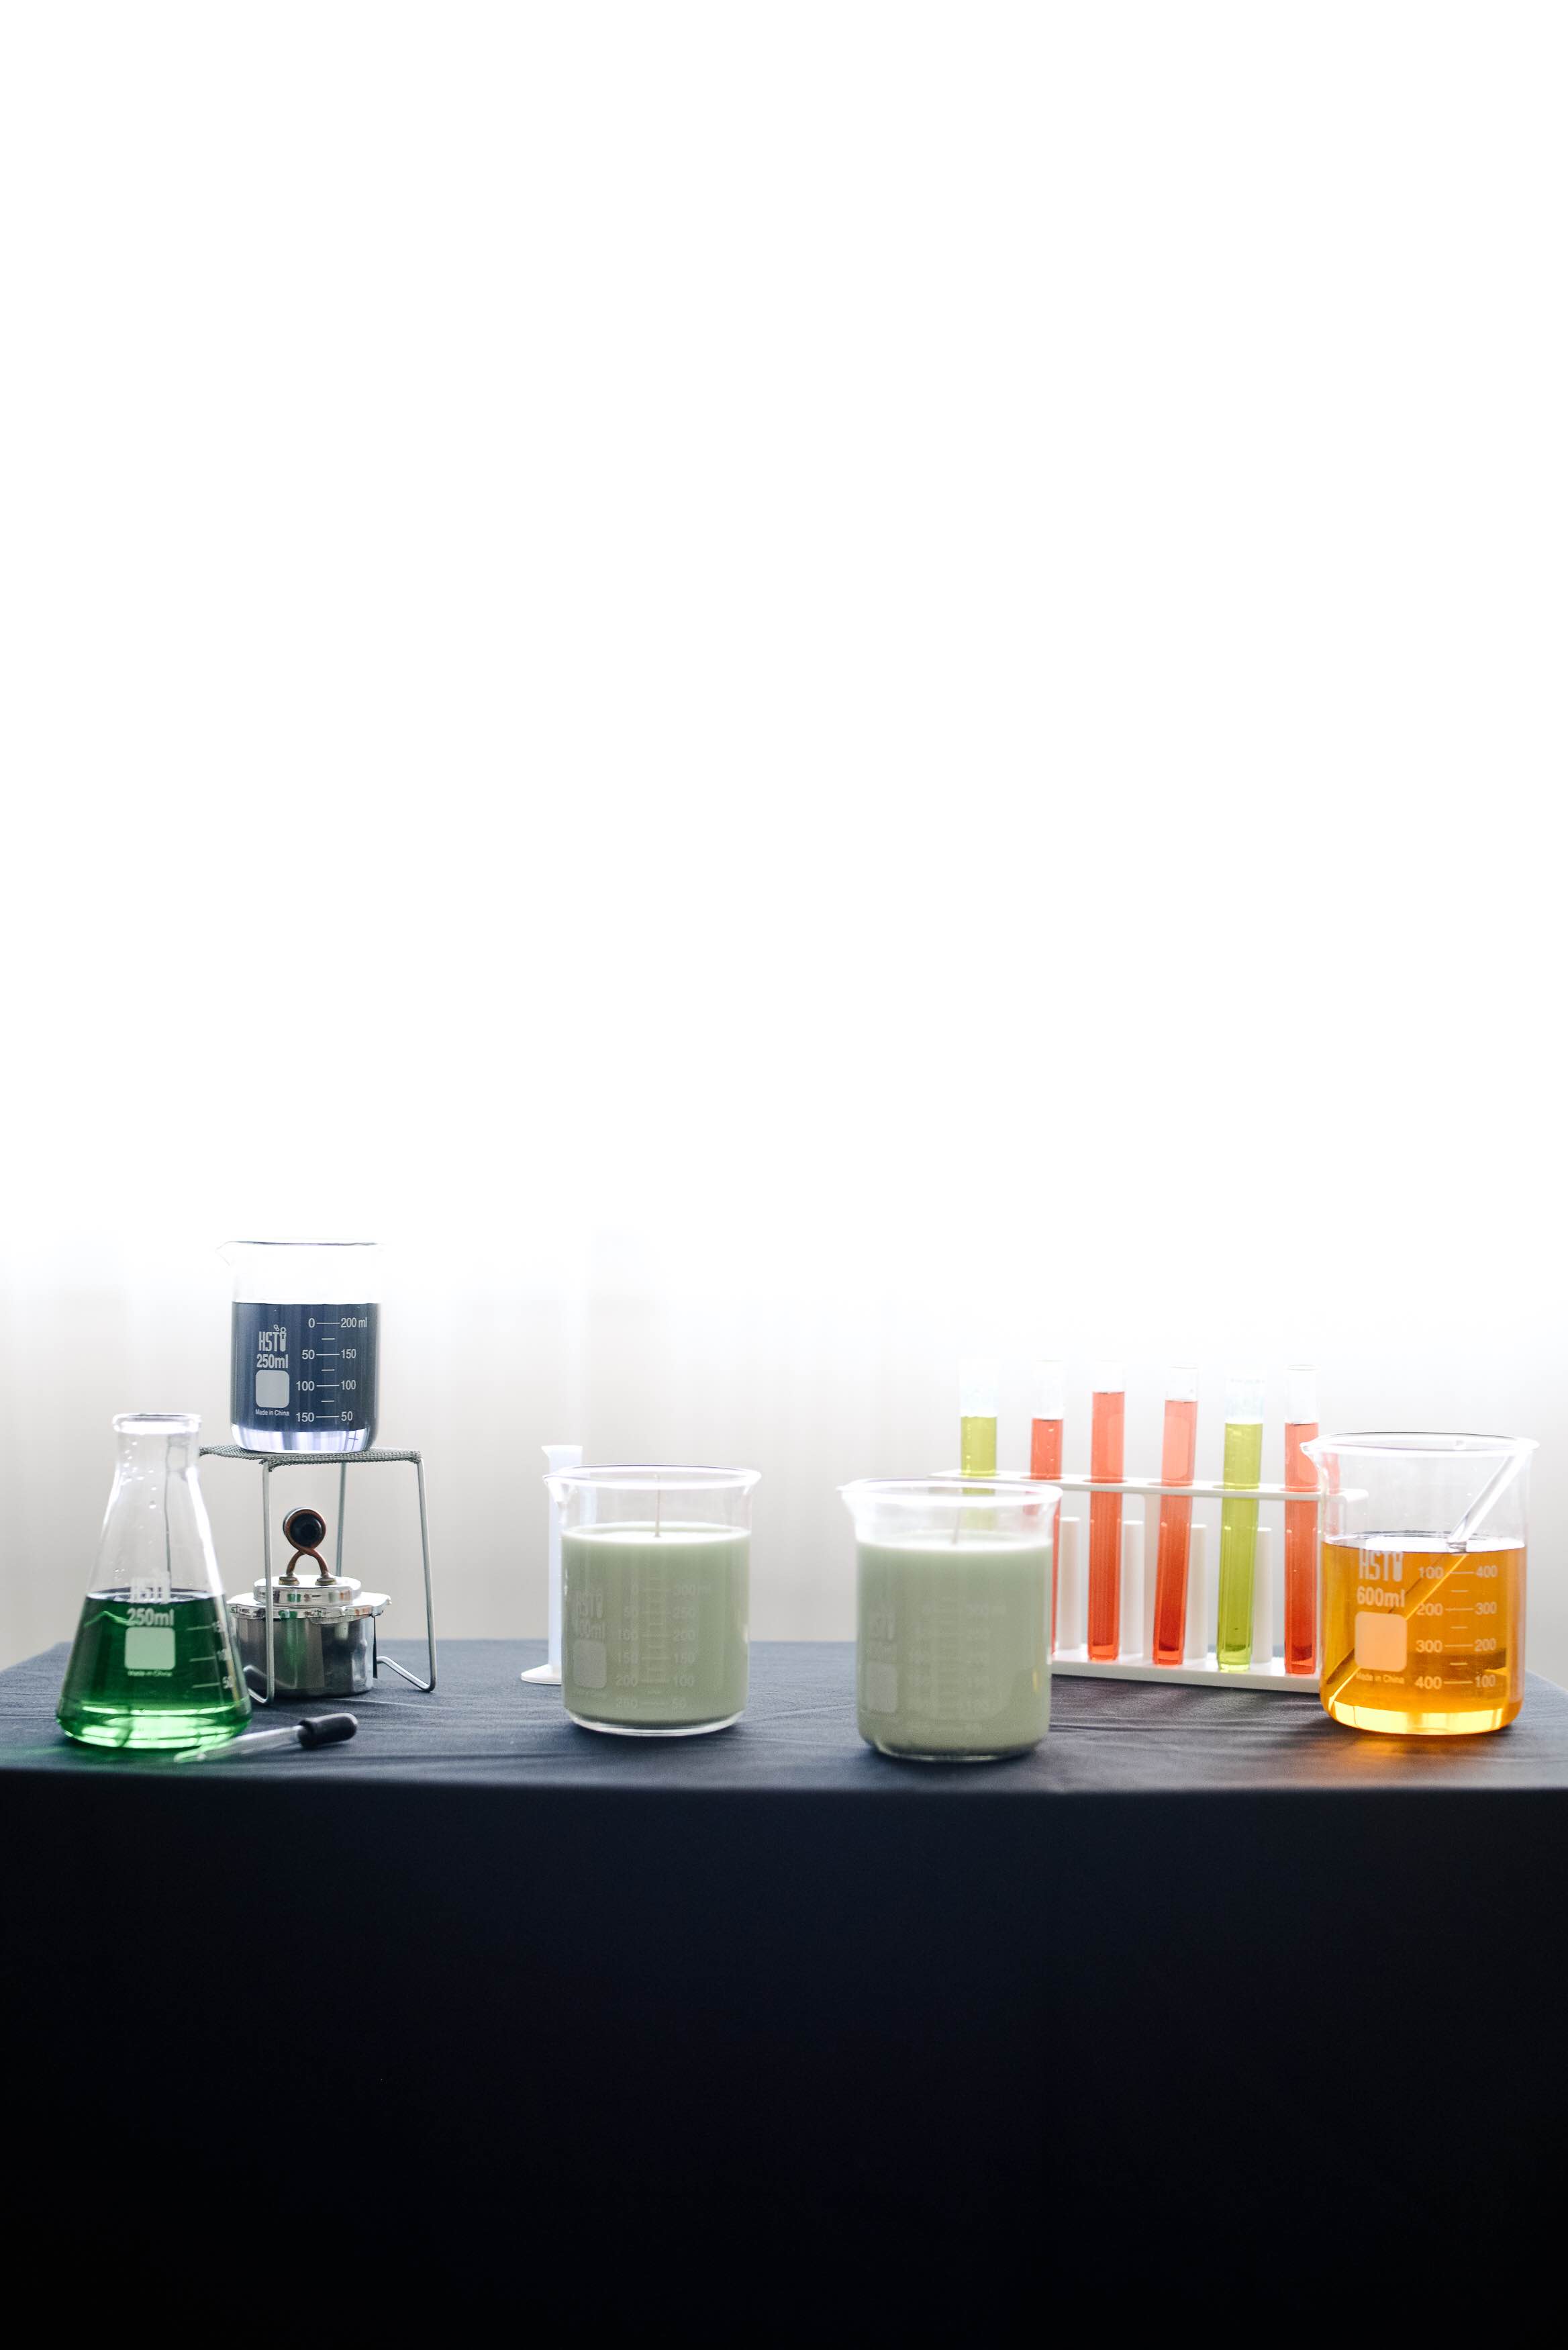
 If you want to change the color of your candle wax, you can easily do this by adding some liquid dye, specifically made for candles. I used green, but there was a big variety of colors available at my local craft store, in the candle making section, so you have many choices. Orange would be really fun too! (Also, when mixing your dye into the melted wax, use a bit more color than you think you’ll need. The color looks darker in the melted wax, but it lightens as it dries!)
Add the dye needed according to the directions on the back of the liquid dye packaging.
Stir well, using your bamboo skewer.
Once you have the color and citronella oil mixed well into your melted wax, pour into your candle jar.
 The wax won’t expand as it dries, so add as much as needed to fill your container.
You’ll noticed that once you start to add the hot wax to the container, your wick will expand a bit and want to move around. Just make sure to pull it tight and keep it straight so that it dries in the correct position.
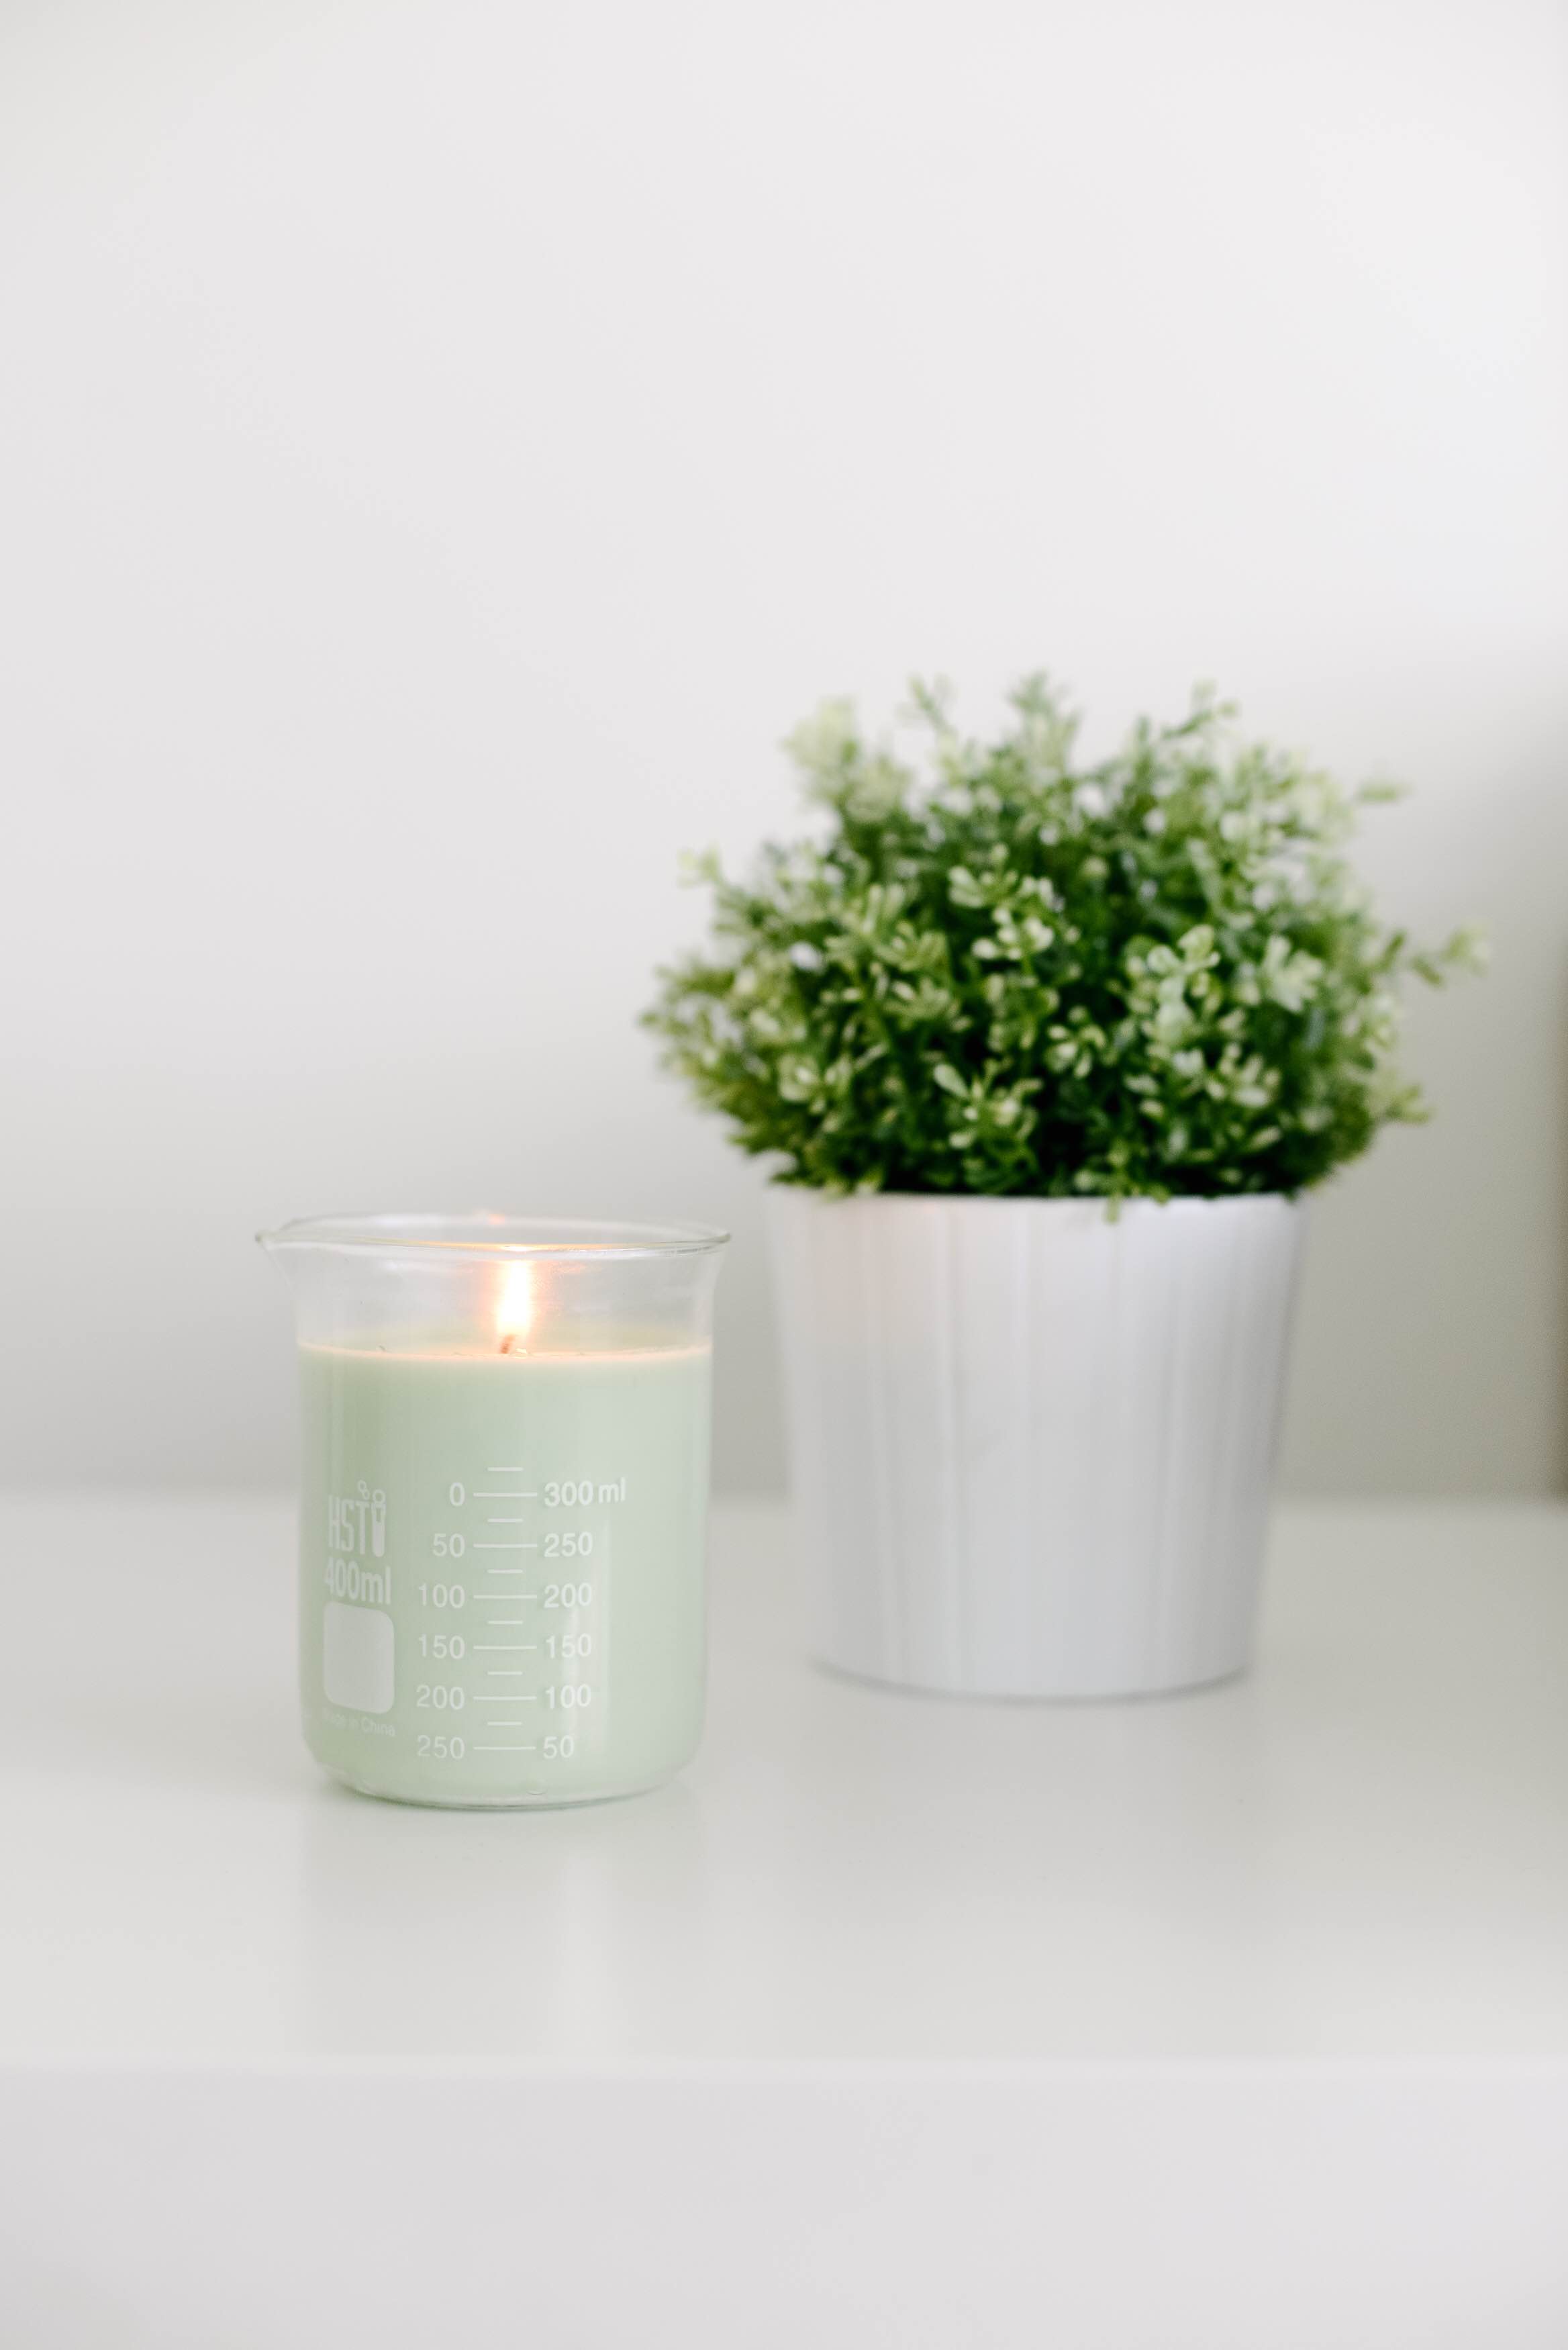
Allow your candle to dry for 24 hours before using.
 Cut down your wick to the appropriate height for burning once your candle has dried completely.
(You can find photos of the process from a past post here).
These DIY beaker candles are fun, easy to make, and add a fun touch to a mad scientist laboratory, a creepy dinner party, or just for festive decor around the house!
Photography by Haley Nord Photography
1 Comment
let's mingle

")
featured faves


watch the latest


fave collabs


")


These are adorable, such a great idea! 🙂
xo Sam